( Photo by Matt Mullenweg )
I gave this presentation yesterday at WordCamp Houston. It sounded like quite a few people enjoyed it.
If you attended it, I apologize for talking so fast. I haven't given this one before and I was winging it, and when I'm unprepared I tend to talk fast.
If you have any questions about what I discussed, please leave a comment. Below is my presentation and some notes on each topic.
Frameworks
- Instead of re-inventing the wheel, see if there's a framework you can build from.
- Thesis is great for the more standard, simpler sites. The first screenshot was built in one hour using Thesis.
- The next two screenshots were built in a day using Thesis. The design can be quite custom. About 75% of the work I do is with Thesis.
- For the more complicated projects, I typically use Genesis (ex: Tufts Roundtable). Areas where Thesis lacks and I build with Genesis:
- If you need to customize The Loop. Genesis gives you hooks into the loop, and you can also remove the loop with a single remove_action(). Update: The newest version of Thesis (released after this presentatation) now has a Custom Loop API.
- If you need to build custom templates for categories, taxonomies... anything that's not a standard page. Thesis let's you make custom page templates by setting a page to the "Custom Template", but you can't make real template pages like you can with a parent/child theme setup.
- If you want to use BuddyPress. Genesis works wonderfully with BuddyPress (this is one of the reasons we chose it for Tufts Roundtable).
- For very custom projects (ex: UTDallas) I'll build a custom framework that the client can then use to customize. I built a parent theme for UTDallas with a bunch of available hooks. The client can then use it on many different sites, using a child theme to customize it. The client never has to touch the parent theme I build, which reduces the possibility of breaking it (if they add something to their child theme that breaks the site, they can just remove it). When I make updates or improvements to the parent theme, all the client's changes are untouched.
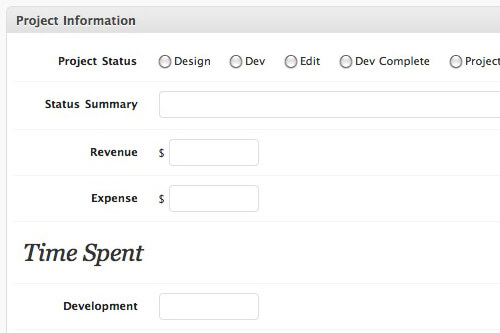
Custom Post Types
- Custom Post Types allow you to separate content logically. If you have a blog and products, you shouldn't have to put your products in the Posts area, you should create a separate post type for Products.
- The screenshot shows LogDogJobs , which uses a custom post type for the job postings.
Custom Taxonomies
- Custom taxonomies allow you to create new categorical structures.
- WordPress comes with two taxonomies: categories and tags. If your project contains other ways to logically categorize content, you might consider creating additional taxonomies.
- The example I highlighed (CultureMob - should be released in the next few weeks) breaks content into Categories (Art, Music, Food...) and Cities (Seattle, Houston, San Francisco...). This means that content can be aggregated by Category (Art), City (Seattle, and Category+City (Seattle Art).
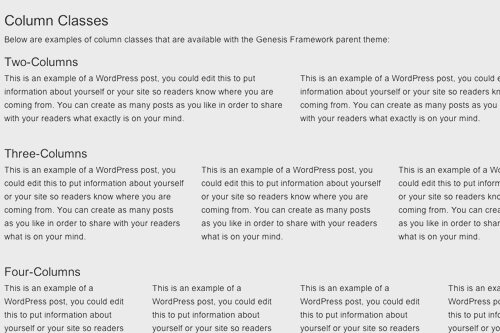
Additional Sidebars
- Sidebars/Widgets are a wonderful, but often overused, feature. They are best used for content that is repeated often (not page-specific) and needs to be editable.
- The first example is my website. The homepage has three columns of content. The first column is the actual content of the page Home. The second column is a sidebar called Services, and the third column is a sidebar called Sidebar 2. On the inner pages, the sidebar displays Sidebar 1 followed by Sidebar 2. "My Story" appears in multiple places on the site, but should only exist in one place (Sidebar 2). If I had it in two different sidebars (Homepage and Inner Page sidebars) the content might not stay in sync.
- The second example is StuckInCustoms.com , which uses a custom sidebar for the button in the header. By making that code a sidebar, the client can easily change out the image and link without having to edit the theme's code.
Multiple Content Areas
- I highlighted my technique for multiple content areas (I won't describe it here because I've written about it already).
- I also noted in the talk that I'm planning to extend this code for a future project. The new version will take the content of the h4 (or whatever tag you use) and apply that as the class to the div. It would then use an h4 with the content "End" to define the endpoint for that div. This means the same technique can be used to create many different types of stylized divs in an easy-to-use way.

No comments yet