
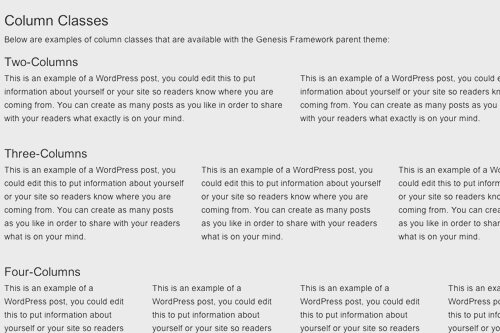
Thesis comes with a feature called the Thesis Post Image. When you associate an image with a post, you can easily resize and crop it to whatever dimensions you want anywhere on the site (see my post on Custom Images ). But it's a bit difficult to use for multiple reasons:
- You have to upload an image, then copy the image's URL, close the upload window, then paste the URL in a text box on the post page. It's not very intuitive for non-technical people to use.
- It displays the full-size image on the featured posts and single post pages. A lot of times a client will upload an image that's too large, thinking Thesis will just resize it. It resizes all the thumbnails but leaves the original on the main post.
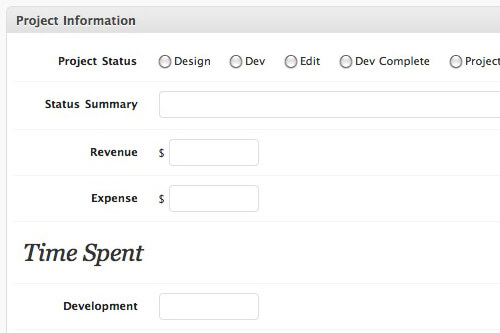
WordPress has a great new featured called WordPress Post Thumbnails . When activated, you'll see a "Set Featured Image" button in the post editor (see the image at the top). You click this, are taken to the upload screen to upload your image, and then you press "Use as Featured". That's all you have to do - no copying and pasting of URL's.
There is a downside to this solution though. You have to manually code in the dimensions you want the thumbnails to be in your custom_functions.php file. If you add a new image size in the future, you'll have to use the Regenerate Thumbnails plugin to go through all your images and make new thumbnails (it makes the thumbnails when the image is uploaded, so if you change the thumbnail dimensions all uploaded images will be wrong).
None of these issues are a big deal if you're doing a project for a client, since you'll be setting up the post images for them and they won't need to resize them in the future (and if they do, they can hire you to install the plugin and click "Regenerate").
So, here's how you add WordPress Post Image support to Thesis. I'm going to post all the code, then walk you through what it's doing.
[php]/* Image Sizes */
add_theme_support( 'post-thumbnails' );
set_post_thumbnail_size( 500, 400 );
add_image_size( 'teaser-image', 250, 115, true);
add_action('thesis_hook_before_post','add_thumbnail');
function add_thumbnail() {
if(has_post_thumbnail() && is_single()):
echo '<p>'.get_the_post_thumbnail().'</p>';
elseif(has_post_thumbnail()):
echo '<p><a href="'.get_permalink().'">'.get_the_post_thumbnail().'</a></p>';
endif;
}
add_action('thesis_hook_before_teaser','teaser_thumbnail');
function teaser_thumbnail() {
if(has_post_thumbnail()):
echo '<p><a href="'.get_permalink().'">'; the_post_thumbnail('teaser-image');
echo '</a></p>';
endif;
}[/php]
- The first line,
add_theme_support( 'post-thumbnails' ), tells WordPress that this theme supports Post Thumbnails, so the post editor should have the featured image box. This is why you don't already see it in Thesis. - The next line defines the default size of a post thumbnail. If you just use ( number , number ) then it will use "Box resize mode" which will scale the image to fit within a box of that dimensions (no cropping). Note that you should set this to whatever you want. I have it set for a maximum of 500px wide and 400px tall.
- The next line defines a new image size (this one is for teasers). By adding "true" to the conditions it switches it to hard-crop mode, where it will always make a thumbnail of exactly those dimensions. Set this to whatever you'd like. I have it set to crop the image to 250px wide by 115px tall.
- The next block of code is the function that adds the post thumbnail to the beginning of the post. It basically says "if this post has a thumbnail and we're on a single page, just show the image. If we're anywhere else (like the homepage) make the image a link to the single post."
- The next block of code is the function that adds the post thumbnail to teasers. It just says "if this post has a thumbnail, stick the teaser version of the image at the top and make it click through to the full post." Since it uses the hook
thesis_hook_before_teaser, it will only execute on teaser posts.

No comments yet